NordVPN Without the App: Manual OpenVPN Setup and Config Files (2026)
Why Anyone Sets NordVPN Up by Hand
Almost nobody should. If NordVPN's own app runs on your device, use it — it is faster to set up, it handles the kill switch and protocol choice for you, and it is the path our complete NordVPN setup guide walks through. This page is for the cases where the app is not an option:
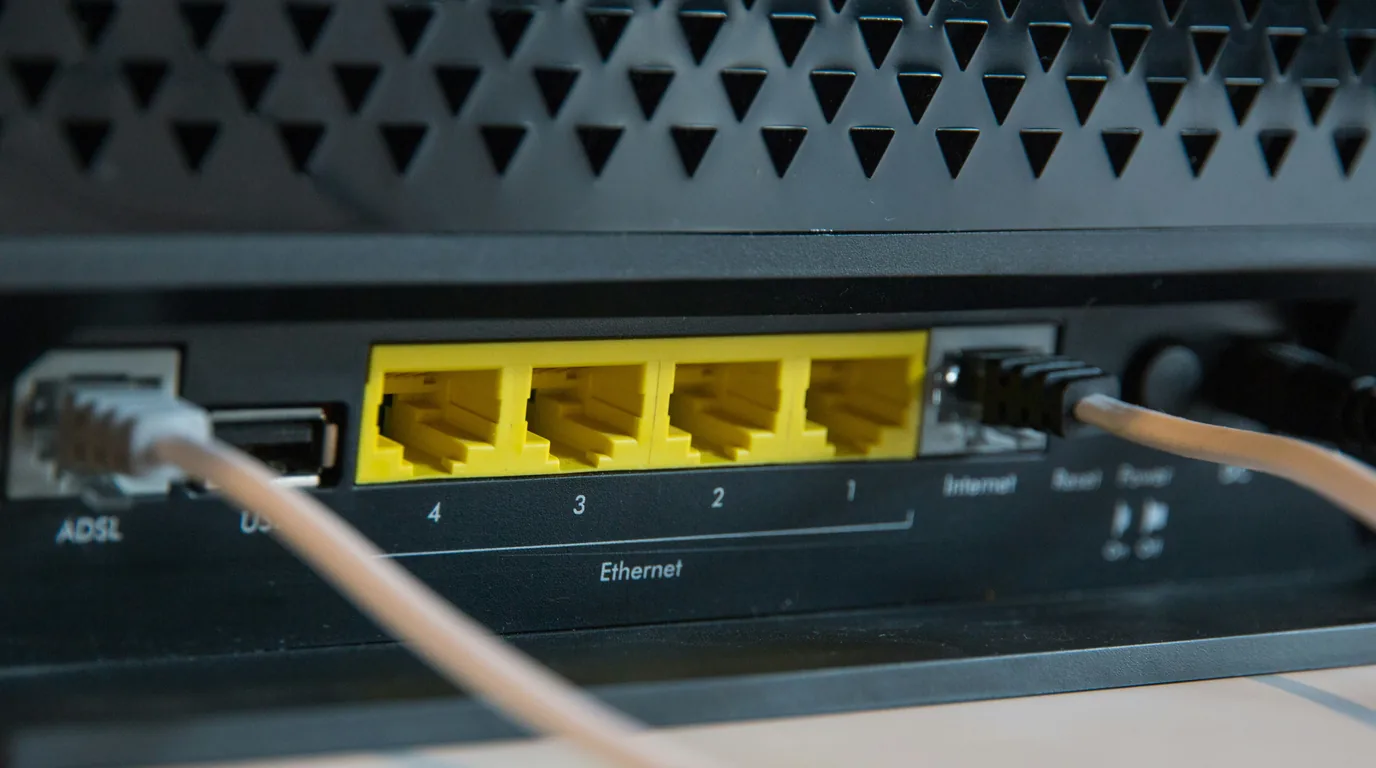
- A router. Router firmware runs an OpenVPN or WireGuard client, not an app. This is the most common legitimate reason, and it has its own walkthrough in how to set up a VPN on your router.
- A NAS, a media box, or a Linux distribution the app does not package.
- A device where you need one specific server pinned and never changed.
Difficulty: Advanced | What you need: a Nord Account, an OpenVPN client, and about 20 minutes
The One Thing That Breaks Most First Attempts
Your Nord Account email and password will not work for a manual connection. NordVPN issues a separate username and password for this, which it calls service credentials, and its own Windows walkthrough states the requirement plainly under "Before you start": "You will need your NordVPN service credentials (not your standard Nord Account email and password)."
This is the single most common reason a manual setup fails with an authentication error while the app works fine on the same machine. If your config refuses to connect and you are certain the file is right, check this before you change anything else.
Step 1: Copy Your Service Credentials
Per NordVPN's Windows manual-connection article, the credentials live in your account rather than in the app:
1. Log in to your Nord Account and click NordVPN 2. Scroll down to Advanced Settings and click Set up NordVPN manually 3. Open the Service credentials tab 4. Copy the Username and Password
Treat these like any other password: they authenticate to the VPN service, so a router config file containing them is a credential store, not just a settings file.
Step 2: Download the Config for the Server You Want
Config files come from the same Set up NordVPN manually area of Nord Account. NordVPN's support article on finding server configuration files describes the flow: log in to Nord Account, go to Set up NordVPN manually, then the OpenVPN configuration files section, and — in its own words — "Find the server you wish to connect to by using the Search bar or by scrolling down and download it by clicking Download UDP or Download TCP."
Each download is a single .ovpn file describing one server. That is the trade you are making: the app picks a server for you, whereas a config file pins you to the one you downloaded.
Step 3: UDP or TCP — Which File to Take
The download page offers both for every server. NordVPN's configuration-files article presents them as a choice without recommending either, so here is the practical rule rather than a claim about speed we have not measured:
- UDP is the default choice for general use. It does not retransmit lost packets at the transport layer, which is what you want underneath a tunnel.
- TCP is the fallback when UDP is blocked — some hotel, campus and corporate networks drop it. TCP looks more like ordinary web traffic and gets through more often.
Step 4: Load the Config into an OpenVPN Client
On Windows, NordVPN's article puts the files in OpenVPN's own config directory — copy the downloaded .ovpn files into C:\Program Files\OpenVPN\config\. More than one file can live there at once, and each appears as a separate selectable server in the client, which is how you build a small menu of locations without the app.
On other platforms the client differs — Tunnelblick on macOS, the OpenVPN client on Android, the openvpn package on Linux, or the firmware's own VPN-client page on a router — but the shape is identical every time: import the .ovpn file, then supply the service credentials from Step 1 when prompted.
Step 5: Connect, Then Verify It Is Real
Connect, and then do not assume it worked. A manual connection can come up, report success, and still leak DNS — and unlike the app, nothing is watching for that on your behalf. Run the checks in how to test if your VPN is actually working before you rely on it for anything. At minimum confirm your public IP has changed and that your DNS queries are not still going to your ISP.
What About PPTP, L2TP and IKEv2?
People arrive here searching for PPTP setup, so it is worth answering directly. NordVPN's own protocol guide names three protocols: OpenVPN, NordLynx (its WireGuard-based protocol) and NordWhisper. PPTP is not among them, and this is not a documentation gap: NordVPN's router compatibility page states that its servers stopped supporting L2TP/IPsec and PPTP connections on 1 December 2018. Nor did we find a current NordVPN manual-setup guide for either of them — unlike IKEv2, which does still have one (below). If you specifically need a PPTP endpoint, NordVPN is not the service to buy for it.
IKEv2/IPsec is the interesting case, because it is absent from that list of three and yet it still works. NordVPN does not offer it as a protocol you select inside the app, but it does still publish a full manual procedure for it. Its iOS article walks through installing NordVPN's IKEv2 certificate, adding an IKEv2 configuration under Settings > General > VPN, taking a server hostname from the manual-setup section of Nord Account, and authenticating with the same service credentials from Step 1. So if you specifically want IKEv2, manual setup is not a workaround — it is the route NordVPN documents.
One warning if you go checking this yourself, because we walked into it while writing this page. Search engines still surface an old NordVPN article titled "IKEv2/IPSec protocol is no longer supported on iOS and macOS". Both URLs we found for it now redirect to NordVPN's generic protocol-chooser page, which does not mention IKEv2 at all. The headline survives in search results; the article behind it does not. Do not cite it, and do not conclude the protocol is dead on the strength of it — NordVPN's own current manual-connection guide for iOS says otherwise.
If you want to understand what actually separates these protocols rather than just which to click, we cover that in VPN protocols explained.
What You Give Up by Going Manual
This is the honest cost, and it is the reason the app is the default recommendation:
- The kill switch. NordVPN's app-level kill switch is a feature of the app. A bare OpenVPN client does not have it unless you configure equivalent firewall rules yourself.
- Threat Protection, Meshnet and split tunnelling. All app features. A config file is a tunnel and nothing else.
- Server switching. One file, one server. Changing location means downloading and importing another config.
- Automatic updates. Server addresses and certificates change. A config file downloaded a year ago can simply stop working, with no notification.
Where to Go Next
If you came here because the app would not install on a device, the router route is usually the better answer than a per-device manual config — how to set up a VPN on your router covers it end to end. If the app will run and you were only curious, go back to the complete NordVPN setup guide; everything on this page is the harder way round.
Sources, verified against NordVPN's own support documentation on 19 August 2026: the service-credentials requirement and the Windows config path are from NordVPN's "How to set up a manual connection to NordVPN on Windows using OpenVPN" support article; the config-file download flow and the UDP/TCP choice are from its "How to find various server configuration files for NordVPN" support article; the protocol list is from NordVPN's "Which NordVPN protocol should I choose" support article; the manual IKEv2 procedure is from "How to connect to NordVPN with a manual IKEv2/IPSec connection on an iOS device", which was live and substantive when we read it. Nord Account's interface changes from time to time — if a menu name here does not match what you see, trust the account and tell us.
NorwegianSpark Editorial — Written with AI assistance and reviewed by the NorwegianSpark SA editorial team. Tutorials are independently written and regularly updated.