How to Remove Your Personal Data From the Internet (2026)
Your Personal Data Is Probably on Hundreds of Sites Right Now
Data brokers collect and sell your personal information — name, address, phone number, email, age, income estimates, and sometimes even family members and political affiliations. The industry is large: broker registries maintained by regulators in California and Vermont each list hundreds of registered companies, and the wider people-search ecosystem is larger still, because not every site that publishes your details is a registered broker. We are deliberately not repeating the commonly quoted "over 4,000 brokers" and "the average person appears on 100+ sites" figures, because we could not trace either to a primary source we can stand behind. The point does not need the statistic: run the searches in Step 1 and you will find your own number, which is the only one that matters. This tutorial shows you how to find where your data is, remove it, and prevent it from reappearing.
Difficulty: Intermediate | Estimated time: 30 minutes (plus ongoing monitoring)
Step 1: Audit What Data Is Out There
Before you can remove your data, you need to know where it is. Start with these three actions:
Google yourself. Open an incognito browser window and search your full name in quotes: "Your Full Name". Add your city for more specific results: "Your Full Name" + "Your City". Note every people-search site, data broker, and public records page that appears.
Check the major data broker sites directly. Visit these sites and search for yourself:
- Spokeo.com
- WhitePages.com
- BeenVerified.com
- Intelius.com
- PeopleFinder.com
- TruePeopleSearch.com
- FastPeopleSearch.com
- USSearch.com
Check data breach exposure. Visit HaveIBeenPwned.com and enter your email addresses. This shows which data breaches have exposed your credentials. Breached data often ends up on data broker sites.
Document everything. Save a list of every site where you find your information. You will need this for removal requests.
Step 2: Manual Opt-Out From the Top 10 Data Brokers
Each data broker has its own opt-out process. Here are the top 10 by traffic and data coverage:
1. Spokeo — Visit spokeo.com/optout. Paste the URL of your profile page. Enter your email for verification. Click the confirmation link.
2. WhitePages — Visit whitepages.com/suppression-requests. Find your listing and click "Remove." Provide a phone number for verification.
3. BeenVerified — Visit beenverified.com/app/optout/search. Search your name, select your listing, and submit removal.
4. Intelius — Visit intelius.com/opt-out. Enter your information and submit. Processing takes 7-14 days.
5. TruePeopleSearch — Visit truepeoplesearch.com/removal. Find your record and click "Remove This Record."
6. FastPeopleSearch — Visit fastpeoplesearch.com/removal. Find your listing and request removal.
7. PeopleFinder — Visit peoplefinder.com/optout. Submit your details for removal.
8. USSearch — Visit ussearch.com/opt-out. Follow the removal instructions for your listing.
9. Radaris — Visit radaris.com. Find your profile and use the "Control Information" option.
10. MyLife — Visit mylife.com/ccpa/index. Submit a data deletion request under CCPA or GDPR depending on your location.
Important notes: Many brokers require email verification — use a dedicated email address if you do not want to give them your primary email. Processing times range from 24 hours to 30 days. Some brokers re-add your data from public records after removal — this is where automated monitoring becomes essential.
Step 3: Monitor What Comes Back — and What You Missed
Manual opt-out handles the top 10 brokers, but there are hundreds more, and the ones you clear tend to re-list you from public records. The real gap that leaves is visibility: you cannot opt out of a listing you do not know exists, and you cannot react to a breach nobody told you about.
An identity-monitoring service closes that gap. Bitdefender Digital Identity Protection maps the digital footprint attached to your email addresses — including data left behind by services you stopped using years ago — then watches the public web and the dark web for breaches exposing your details, and gives you specific one-click actions when something surfaces.
What it does, and what it does not: it finds exposure and tells you what to do about it. It does not file opt-out requests with brokers on your behalf — that part stays manual, which is exactly why Step 2 above is not optional. Treat this as the monitoring layer on top of your own removals, not a replacement for them.
How to set it up: 1. Sign up and add every email address you have used over the years — the old ones matter most 2. Let the initial scan build your footprint report 3. Work through the flagged items using the one-click actions 4. Leave monitoring switched on so new breaches involving your details reach you
Cost: Bitdefender sells this as a standalone subscription and advertises a 30-day money-back guarantee. We do not quote figures here — check Bitdefender's own pricing page for what it charges today. The comparison that matters is against your own time: manual opt-out across the broker network is many hours of repetitive form-filling, repeated indefinitely as listings reappear.
Check Your Digital Footprint →Step 4: Set Up a VPN to Prevent Future Data Harvesting
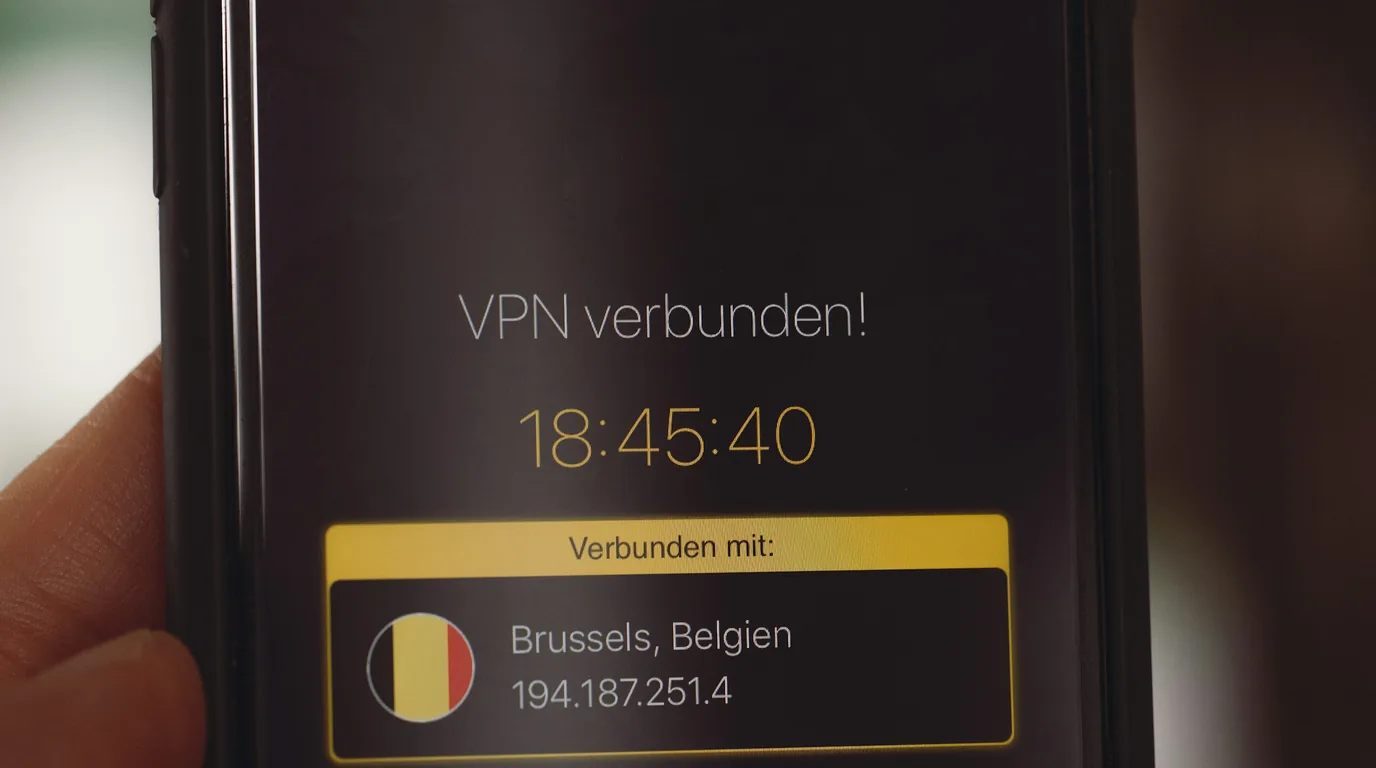
Removing existing data is reactive. A VPN prevents future data collection by hiding your IP address from websites and trackers, encrypting your browsing activity from your ISP, and blocking tracking cookies and malware with built-in threat protection.
Install NordVPN and enable Threat Protection for the strongest protection against ongoing data collection. Keep it connected at all times — especially on public Wi-Fi where data harvesting is most aggressive.
Configure for maximum privacy:
- Enable kill switch to prevent accidental exposure
- Enable auto-connect so protection starts at boot
- Turn on Threat Protection for tracker and ad blocking
- Use DNS leak protection to prevent ISP snooping
Step 5: Monitor With Google Alerts
Set up ongoing monitoring to catch new data exposure:
1. Go to google.com/alerts 2. Create an alert for your full name in quotes: "Your Full Name" 3. Create alerts for your phone number and email address 4. Set delivery to "As-it-happens" for immediate notification 5. Review alerts and submit removal requests for any new listings
Additional monitoring steps:
- Re-check HaveIBeenPwned quarterly for new breach exposure
- Review your MyDataRemoval dashboard monthly
- Re-Google yourself every 3 months to catch sites that Google Alerts may miss
- Check your credit reports for unauthorized accounts (this overlaps with identity protection)
The Complete Data Removal Stack
For the strongest privacy protection in 2026, combine these tools:
- MyDataRemoval — removes existing data from data brokers
- NordVPN — prevents future data harvesting
- NordPass — eliminates password reuse (setup guide)
- Firefox/Brave — blocks browser fingerprinting and trackers
- DuckDuckGo — private search without profiling
- Google Alerts — monitors for new data exposure
NorwegianSpark Editorial — Written with AI assistance and reviewed by the NorwegianSpark SA editorial team. Tutorials are independently written and regularly updated.